Padlet is an online bulletin board that teachers and students can use to collaborate, curate, and share digital content. The way Padlet works is simple and easy: users create padlets and add posts to them; others interact with publicly shared posts(e.g, through comments and reactions) or contribute by adding more resources. Posts can contain various types of digital content such as text, videos, audio recordings, screencasts, web links, graphs, images, GIFs, and many more.
The purpose of this post is to introduce teachers, especially those new to this platform, to the different features and services Padlet offers and to help them make the best of this collaborative curation tool in their instruction. For reviews of similar tools I shared here in educatorstechnology.com, check out Flipgrid and Kahoot tutorials.
Why Padlet?
Padlet offers a wide variety of interactive and collaborative features making it an excellent learning platform to use with your students. You can create padlet boards for your class and invite students to join. As a teacher and moderator, you have access to a number of admin privileges to help you make padlet a student-friendly and learner-focused environment where everybody takes part in knowledge building and sharing.
For instance, you can use profanity filters to block inappropriate content, deactivate comments and reactions, control who can contribute what, and many more. Additionally, you can create padlets that are accessible only to your students, see below to learn more about the different sharing and privacy options you can use in this regard.
Ways to use Padlet in your teaching?
There are many different ways to use Padlet in your teaching. For instance, you can use it as a formative assessment tool. You can post questions, polls, surveys, questionnaires and ask students to provide their feedback. You can then collect the generated feedback and use it as a scaffold to prepare differentiated and individualized learning/teaching strategies. You can also create padlet boards on a given research topic and get students to contribute by adding resources from the web.
The screen and video recording features in Padlet allows you to create educational screencasts and step-by-step tutorials to share with your students. You can even assign students to record videos of themselves explaining, presenting, or sharing resources and post these videos on the padlet board of your class for everyone to see and interact with. For more ideas on how to use Padlet with your students, check out this post.
How to make a Padlet?
To create a Padlet, log in to your account and click on ‘Make a Padlet’ then select a Padlet template. There are seven templates to choose from:
Wall: Arrange content in a ‘brick-like layout’.Stream: arrange content in an easy to read, top-to-bottom feed’.Grid: organize content in rows and boxes.Shelf: Arrange content in a series of columns.Map: Add content to points on a map.Canvas: ‘Scatter, group, and connect content in any way.’Timeline: Arrange content along a horizontal line.
Click on Select under the template you are interested in and follow the instruction to customize your Padlet. Provide a title and a short description. You can also change the look of your Padlet by editing color scheme, font, and wallpaper. Set your Posting preferences which include: Attribution (select whether you want the author name displayed above each post or not), Comments (when turned on viewers can comment on posts), and Reactions.
There are four reaction types you can activate for your posts: Grade (provide numeric scores to posts), Star (give posts 1-5 stars), Vote (upvote or downvote posts), and Like. Or, select Non to turn off reactions for your posts.
Content filter is another key feature you need to set when you create your Padlets. As a moderator, you can turn on the Require Approval functionality so that posts are manually approved by a moderator before being posted. You can also choose to activate the Filer Profanity service to replace bad words with nice emojis.
How to add posts to your Padlets?
Now that your Padlet is created, you can then start adding posts to it. You have various content options to add to your padlets :
Upload: Upload various types of files to your posts.Audio recorder: Use your computer’s mic to record and add audio.Drawing: Use Padlet’s drawing tool to create drawings and save them to your posts.Camera: Grab photos using your computer’s camera and add them to your posts.Video recorder: Use your computer’s mic and camera to record and add videos to your posts.Screen recorder: Instal Padlet’s Chrome extension to start recording your screen and add screencasts to you padlets.Location: Use Google Maps to easily add locations to your posts.Links: Add links by pasting their URLs.Images and GIFs: Use Padlet’s internal search service to search for Images and GIFs to add to your Padlets.
You can also search for and add content from YouTube, Spotify, and the Web. For instance, to add content from the web, type in your search query then click on any of the search results you are interested in to add it directly to your Padlet. The same process with adding content from YouTube or Spotify.
Share options and privacy settings
When it comes to sharing your padlet with others, you have a wide variety of options to choose from. You can share them via a QR code, embed code, broadcast or email, share on social media websites such as Twitter and Facebook, or directly to Google Classroom. You can also export your padlets as image, PDF, CSV, and Excel spreadsheets.
You also get full control over the privacy of the Padlets you embed somewhere else. You can choose to keep them:
Private: Padlets are hidden from everyone else and can’t be accessed even when someone tries to.Password protected: Padlets are still hidden but you can share them with others and let them access them through a password.Members only: Padlets are hidden and only members who are logged in can access them.Secret: Padlets are hidden but when you share them with others they can access them.Public: They are open to the whole public to access and view.
How to invite members to your Padlets?
This is a great collaborative feature to use with your students. You can invite members by name, username, or email. When you invite members you get to control what they can do with your Padlets. You can choose whether they:
Can read: Members can only view posts but they can not add or edit posts, approve others’ posts, modify or delete padlets, nor invite collaborators.Can write: Members can only view and write posts but they can not edit or approve others’ posts, modify or delete padlets, nor invite collaborators. Can edit: Members can view, add, edit, and approve others’ posts but they can not modify and delete padlets nor invite collaborators.Can administer: Members can view, add, edit, and approve others’ posts. They can also modify and delete padlets and invite collaborators.
Note that unless the owner of a padlet restricts access to their padlet, contributors to a padlet are not required to have a Padlet account to add content to the publicly shared padlets. They can still add content but their contributions will be tagged anonymous.
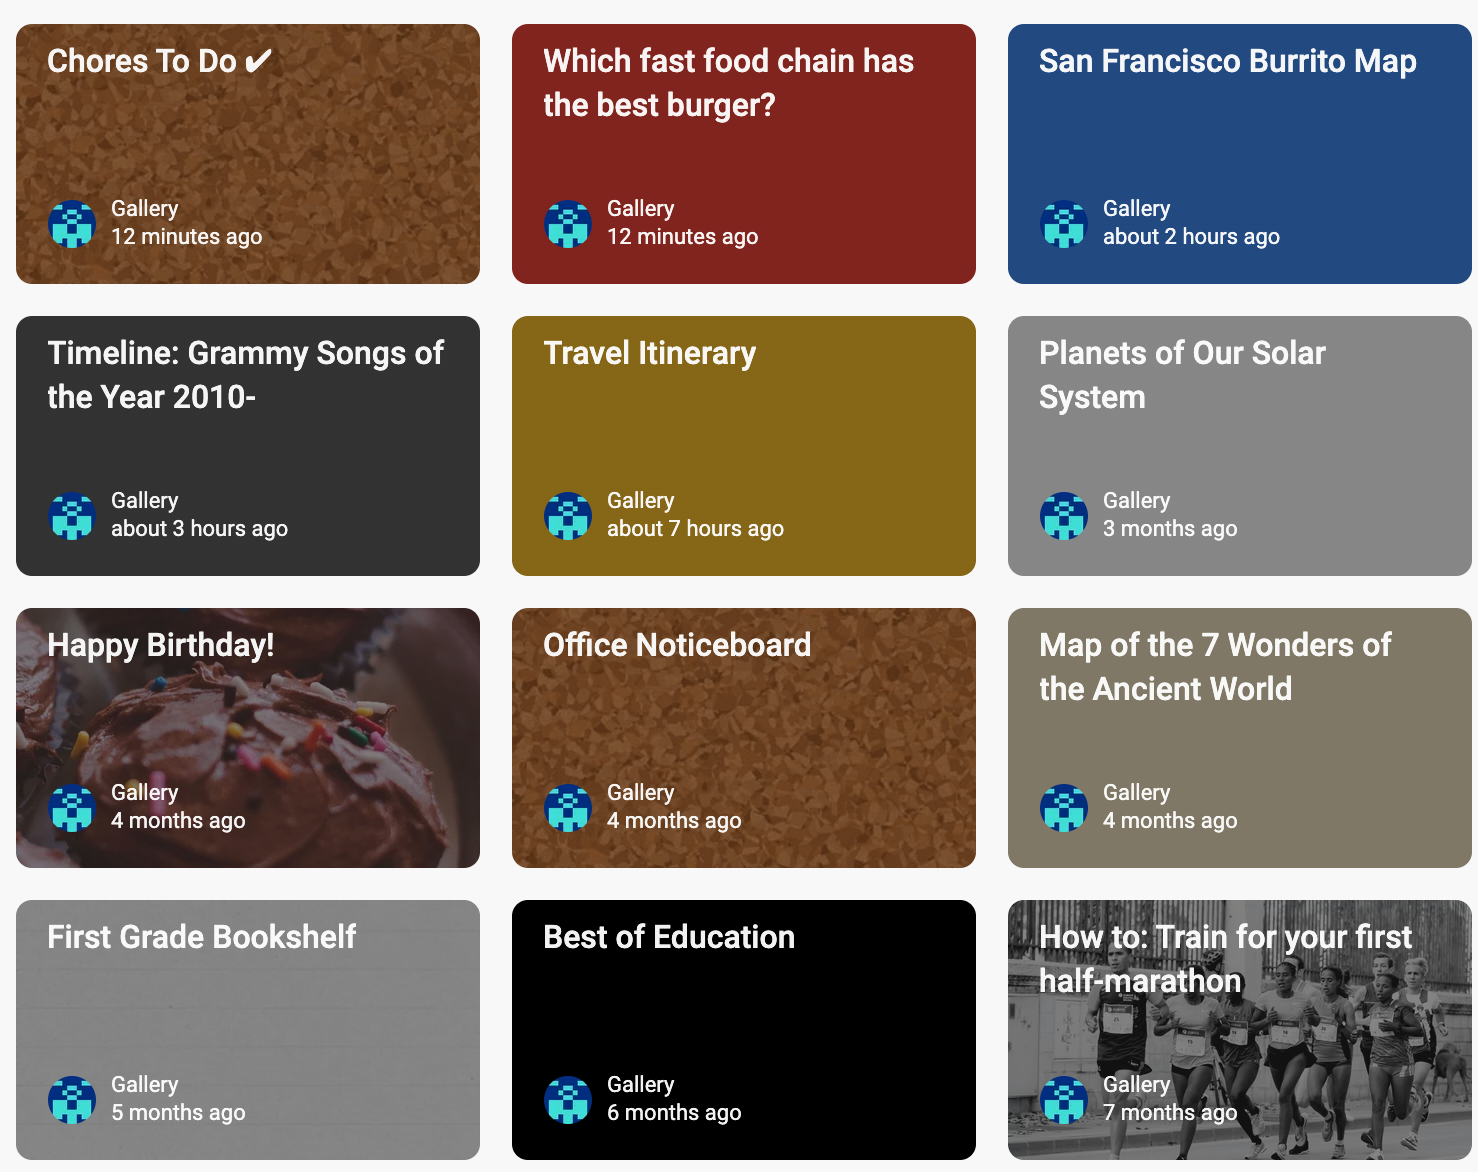
What is Padlet Gallery ?
Padlet Gallery hosts tons of sample padlets created by the user community. These are especially helpful to use to get inspirations and design ideas to try out on your own padlets. Also, note that Padlet does offer a feature called Remake which allows you to copy the design (or posts) of a padlet and use it as a template for your own work but you should make sure you respect the intellectual property of others and familiarize yourself with Padlet’s content policy before you use Remake.
How much does Padlet cost?
Finally, Padlet offers free and premium subscription plans, The free version supports the creation of only 3 padlet boards with up to 25MB upload space. The premium version offers more features. There is also a Backpack plan made especially for schools.